Showing posts with label Owner Builder In New Mexico. Show all posts

Sunday, January 24, 2016

Monday, January 4, 2016

Building An Outdoor Kitchen: #1 Concrete Sink And Countertop


This is the first of a 3 part series on building the outdoor kitchen that you see above.
In this first post we will take a look at the block work 
and forming and pouring the concrete countertop.
Please read on.

This 3 part series to date:
Please read on.

Monday, December 21, 2015

Monday, January 5, 2015

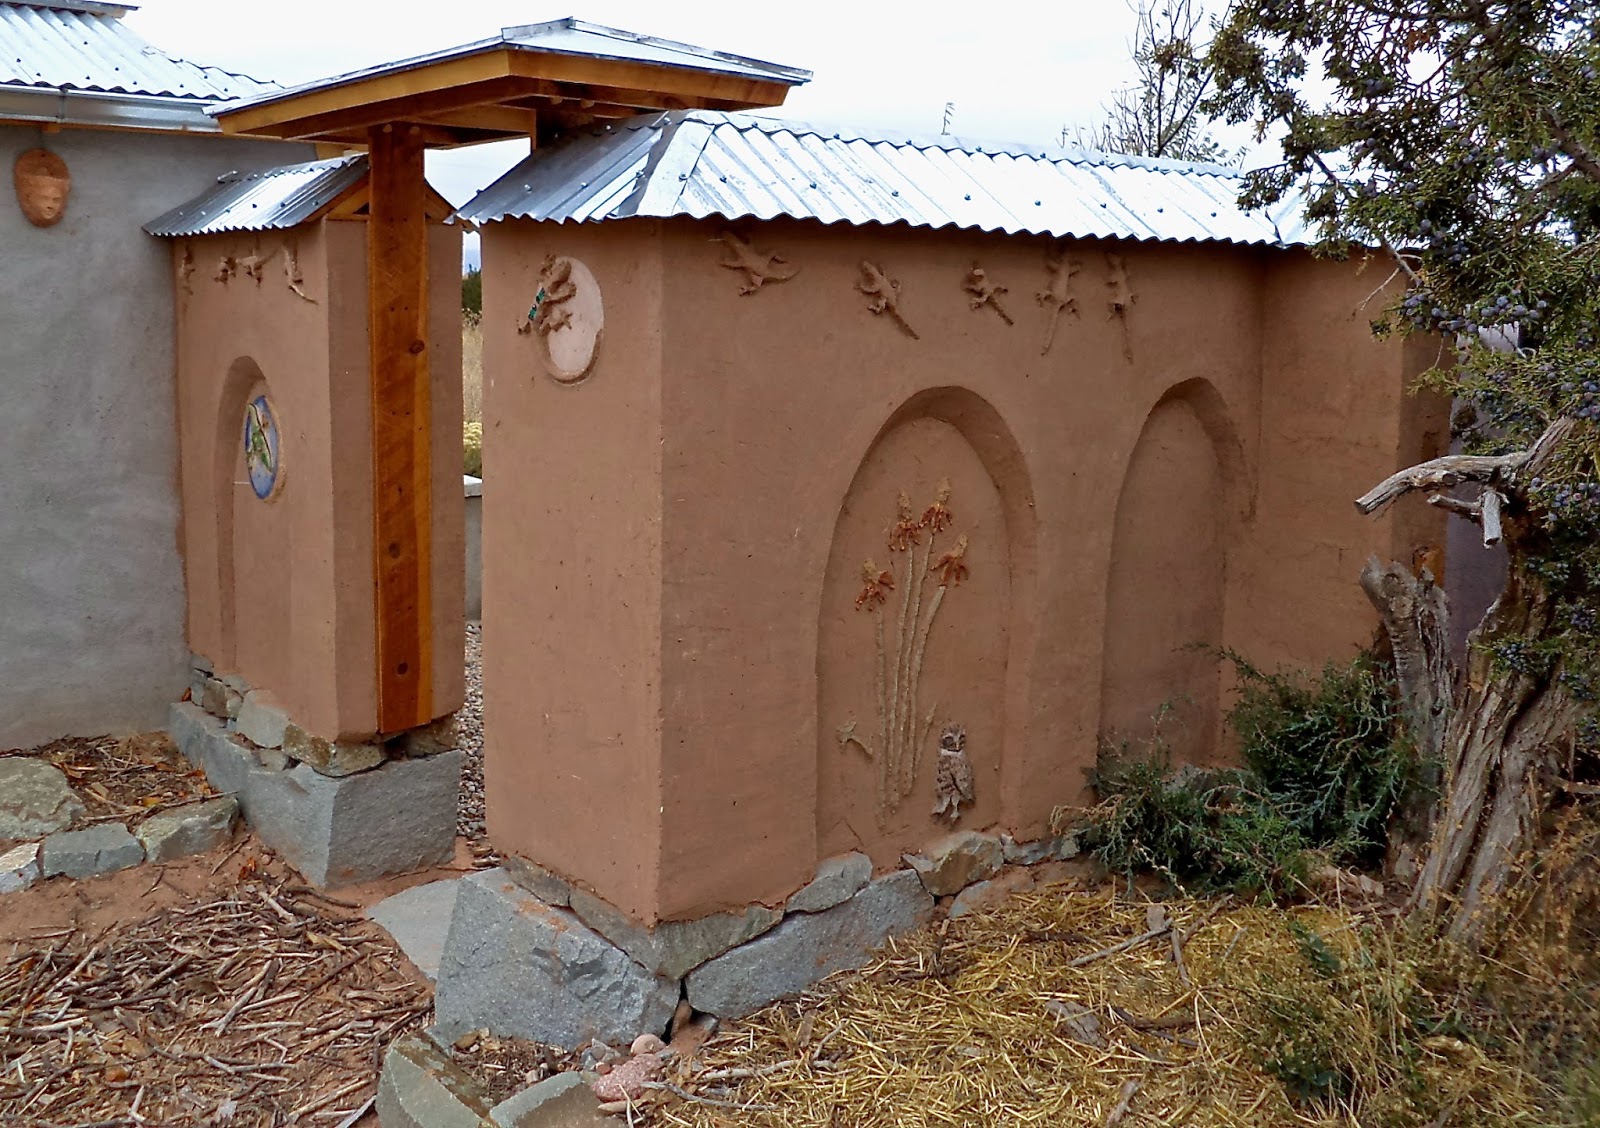
Building An Adobe Wall: #6 Plastering And Creating The Designs


In this post of our series I want to take a look at how we plastered the wall 
and Allison will explain how she and her sisters made the designs, such as you see above,
 out of adobe mud and mineral pigments.

 In the photo above Cynthia used caliche, a clay slip, and oxides on her burrowing owl 
with earring eyes hiding under the Mexican Hat flowers Allison created earlier.


Monday, December 1, 2014

Building An Adobe Wall: #2 Getting Started


After the first post in this series
where we looked at how to build the stone foundation for our adobe wall
we will now take a look at making the "gringo blocks",
 and setting up our mud mixing area for making the adobe mortar that will be used with our bricks
as we go through all the steps for building the wall you see in the photo above.

All of the posts to date are:

Monday, March 24, 2014

Tips On Building A Dry Stack Stone Wall #6: Steps


In this post I want to go into how I build stone steps in the landscape
 as part of the dry stack stone walls that I have already shown.
We will look at how I selected and installed the three steps you see above.

For safety one should never attempt building steps, inside or out,
without a firm basis of the terms, theory, and practice of this craft.
There are many books which provide more detail
 or a search of the internet will yield many results.

The posts to date in this continuing series for the owner builder are:

Monday, March 10, 2014

Tips On Building A Dry Stack Stone Wall #4: Why They Work


In the last post I did for this series on tips for building a dry stack stone wall 
I showed how I go about building a dry stack wall.
This time I want to drive home a few of the principles that I think explain 
why these walls work the way they do and are fundamental to the success of a wall.

The posts to date in this continuing series geared for the owner builder are:

Monday, February 24, 2014

Tips On Building A Dry Stack Stone Wall #2: Getting Stone


In the previous post we took a look at the need for erosion control in our project area
 and the tools that we would use in building our dry stack stone walls.

The posts to date in this continuing series are:
This series is directed to the owner builder rather than the professional stone mason.

Let's look now at the stone we are using, where it came from, 
and how we determined where to have it dumped,
so that it would be readily accessible but not in our way.

In the photo above we are well into our project
 and we have just gotten the last of our three 14.5 ton loads of stone.
I have created a pathway where I can easily use the hand trucks to carry stone
or roll it down the hill if they are too large for the hand truck.

Monday, February 17, 2014

Tips On Building Dry Stack Stone Walls #1: Project, Tools


This is the first in a series of tips on building dry stack stone retaining walls for landscaping,
gained from my personal experience and particularly aimed at the owner builder.

In future posts I will be discussing topics such as how to build durable walls and steps,
how to design the layout for a project, theory on dry stack walls, 
 stone as a material and what stone works best in each part of the project, site management,

 The photo above shows the finished project which gives you a feel for the scope of this work.

Monday, February 10, 2014

Installing Large Size Sun Room Windows


After having built and lived in quite a few passive solar sun rooms over the last 40 years 
I have come up with a good way to set the large double glazed glass units
 that are commonly used for such rooms.

About a year and a half ago we purchased a passive solar heated adobe fixer upper
 with a very long 80' sunroom, built in the mid 1980's.

Monday, October 22, 2012

Building A Well House #9: Trombe Wall Solar Collector


It was a thrill to finally get to the point in this project 
that I had been most looking forward to 
and that was building the Trombe Wall passive solar heater 
to keep our well house from freezing in the winter.

In the photo above you can see we are pretty solarized with the Trombe wall
 and in the background you can get a glimpse of the attached sunroom on the house
 and the solar batch water heater on the roof, all passive solar use.

To follow along on the well house project: