
To conclude this series on Building A Well House I want to show how we built the door,
some final landscaping, and finally a photo collage of the project from start to finish.
And here are links to the whole series:

In the photo above is the view from the yard and house,
and we added two low retaining walls (one shown above) to hold back the embankment
and were able to landscape with plants and mulch.

The door opening was much shorter than standard due to the low ceiling and roof height,
so from the get go I knew I would have to build a door.
Also, because there are no windows I wanted to have air vents in the door.
Above you can see the 2x2 wood frame that I started with.
I notched the joints in about 3/8" for extra rigidity, glued
and screwed all the joints with 3" deck screws.

I cut inch and a half expanded styrofoam (EPS) insulation
with foil backing to fit tightly in the voids.
Over the vents I stapled 1/8" hardware cloth,
(a sturdier version of insect screen),
as you can see above.
Over that I covered the door with 3/8" exterior grade plywood on both sides.

Above you can see the finished door painted, vent doors hinged on, and a handle and dead bolt.
The door fits very snug with felt weatherstripping
and a door sweep at the bottom to keep out the cold in the winter and mice year round.

Through two winters now in our USDA zone 6 climate (lows around -5 to 0 degrees F.)
with the Trombe Wall passive solar heater (shown in the first photo at top),
the well house inside has gotten to a low of 45 degrees (F)
and in the summer a high of around 75 degrees(F).
Perfect!
Now for a trip back on this project, let's see where we have been.
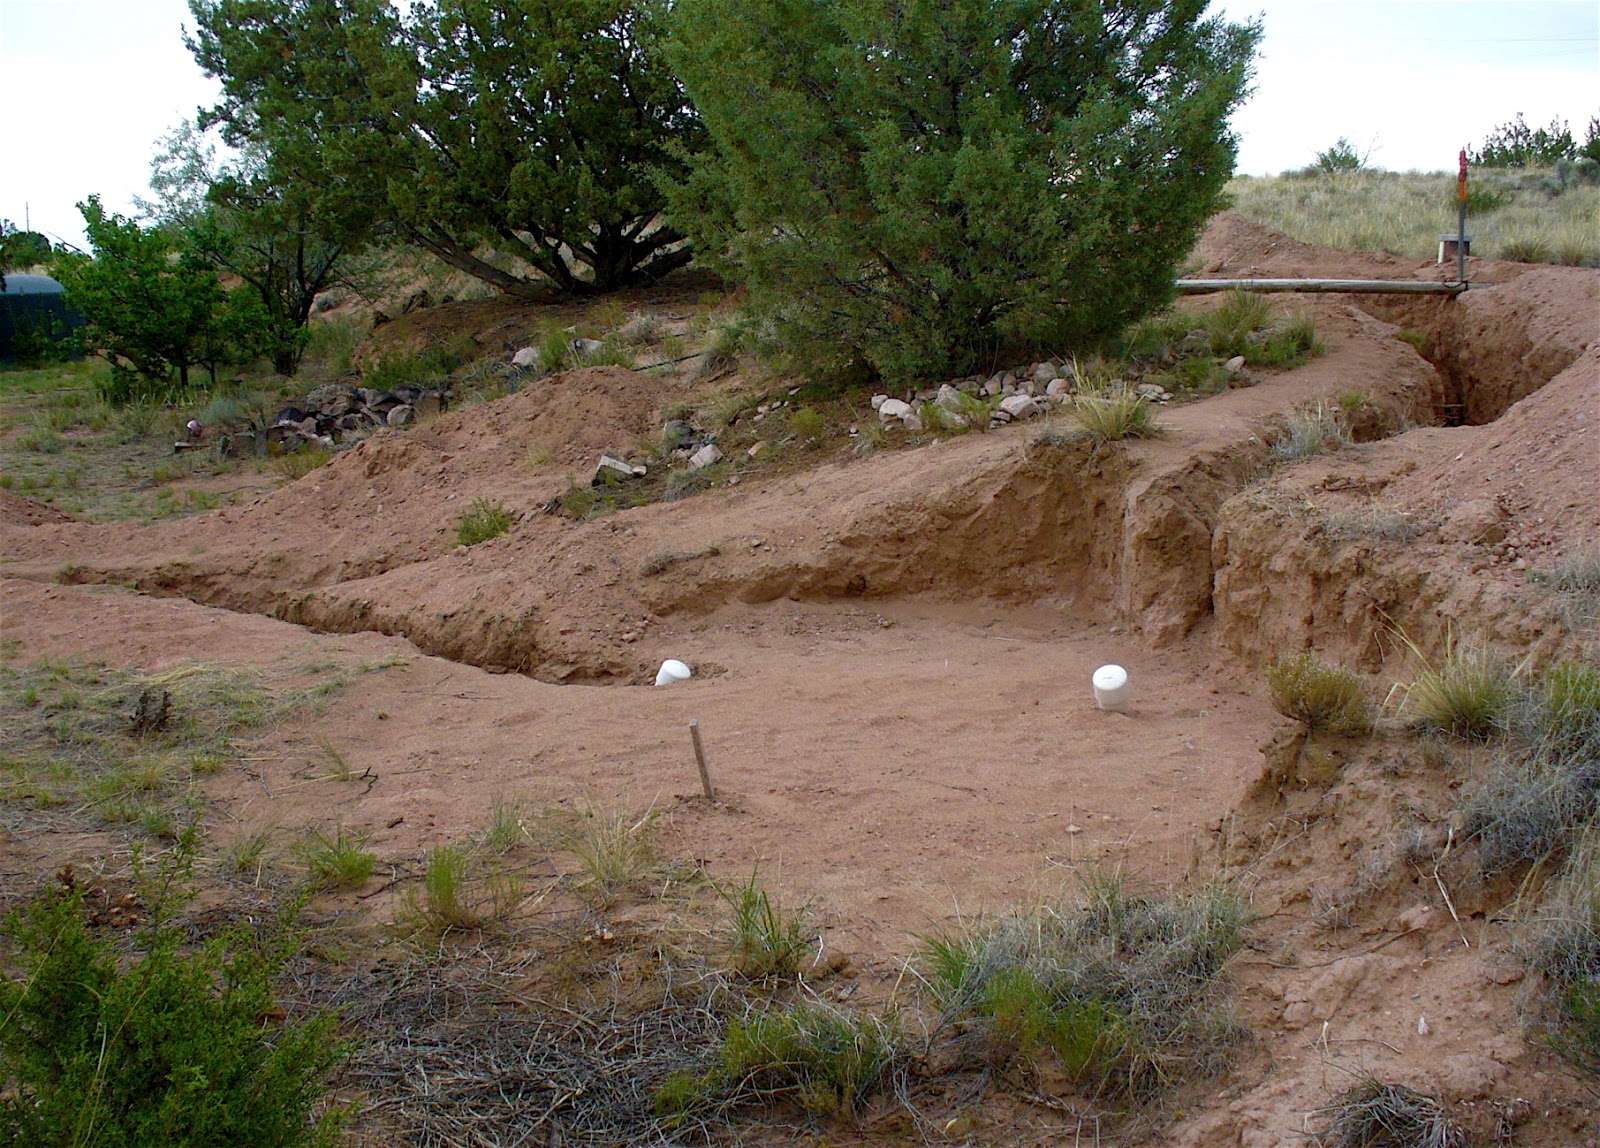
Above just getting started with the trenches to accommodate the water and electrical lines.

Ready to pour into the 2" x 2" and plywood forms over the rubble fill foundation.

The dry stack blocks are done, all the cores filled with concrete, bond beams in place,
and the surface bonding cement covers the outside walls, ready for a roof.

Closed in, rigid foam insulation under the asphalt paper, and ready for stucco.

Graded and finished.
And again here are links to the whole series:
Thanks for reading and hope this helps for your project.